

How to Choose the Right Depth Filtration System?
Choosing the right depth filtration system begins with understanding the liquid, the particles, and the process conditions. A system that performs well in a laboratory may struggle in continuous production. Particle size, concentration, viscosity, temperature, and required flow rate all influence the selection. The filter media must also match the fluid’s chemistry and intended application.
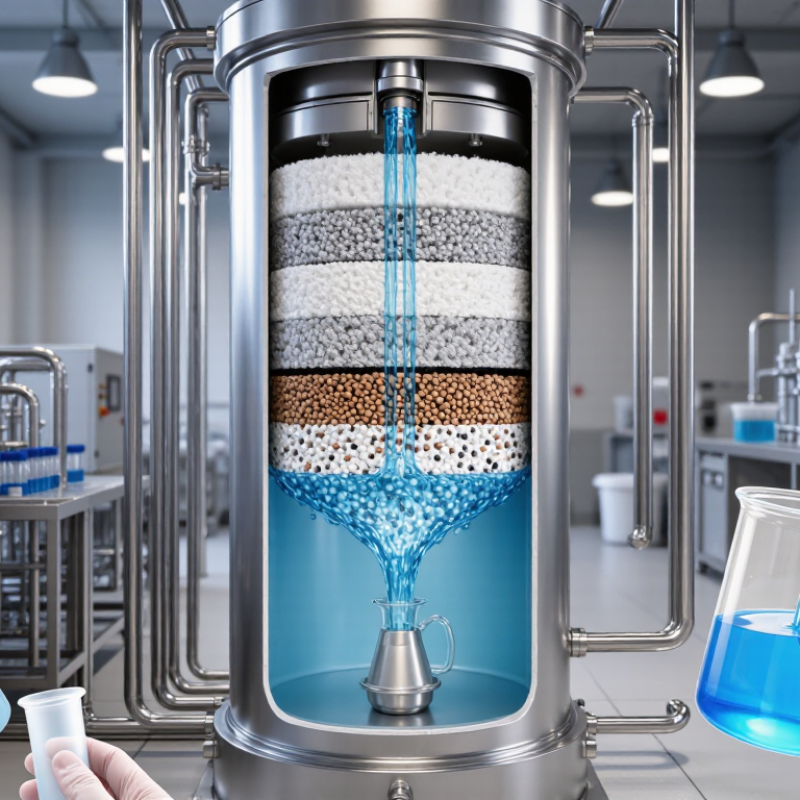
Depth filtration captures contaminants throughout a porous material, rather than only on its surface. This design can hold more solids before replacement, especially when the liquid contains mixed particle sizes. In practical settings, operators may compare filter area, pressure drop, retention rating, and cartridge life. A clear test protocol is essential. Small pilot trials often reveal problems that product sheets cannot show.
Experience matters, but it should not replace evidence. A supplier may recommend a familiar configuration, yet the recommendation should be supported by test data and documented operating limits. Check whether the system maintains stable flow after several hours, not just during a short demonstration. Also inspect cleaning requirements, housing compatibility, sealing materials, and disposal procedures.
There is no universal answer.
The ideal depth filtration system depends on risk, scale, and process priorities. Cost alone can mislead; an inexpensive cartridge may require frequent changes and increase downtime. I would also question any claim of “complete removal” without defined test conditions. By comparing samples before and after filtration, recording pressure changes, and consulting qualified filtration specialists, teams can make a more reliable decision. The final choice should be practical, verifiable, and flexible enough for real production conditions.
Define Feed Conditions: Solids Load, Viscosity, Flow Rate, and pH
How to Choose the Right Depth Filtration System?
Start with the feed, not the filter housing. Measure solids load using real samples from different production periods. A clear morning sample may hide a heavy evening load. Record particle size, concentration, and whether solids are soft, fibrous, or crystalline. These details affect dirt-holding capacity and filter life.
Viscosity changes pressure drop and flow behavior. A thick liquid may move slowly, even when the pump appears properly sized. Measure viscosity at the actual operating temperature. Confirm the required flow rate, pressure limits, and acceptable filtration time. pH also matters. It can affect filter media, seals, and support materials. Chemical compatibility should be checked against the full cleaning and process cycle, not only the product.
Tips: Test a representative sample before full-scale selection. Track pressure rise during the trial. A rapid increase usually signals excessive solids or an unsuitable structure. Allow some margin, but avoid oversizing without evidence. I have seen well-calculated systems perform poorly because the feed temperature was ignored. That mistake is easy to repeat. Recheck the data when conditions change.
| Feed Condition | Typical Solids Load | Viscosity at Operating Temperature | Recommended Flow Basis | Typical pH Range | Suggested Depth-Filtration Approach | Indicative Nominal Rating | Key Design Consideration |
|---|---|---|---|---|---|---|---|
| Clear, low-solids aqueous feed | <0.01 g/L | 1–2 mPa·s | 4–12 L/min/m² | 5–9 | Single-stage graded-depth cartridge or sheet with a relatively fine final layer. | 0.5–5 µm | Use a lower flow rate when turbidity or product value is high. Confirm compatibility with the filter medium and housing. |
| Lightly turbid process water | 0.01–0.10 g/L | 1–3 mPa·s | 3–10 L/min/m² | 6–9 | Coarse-to-fine depth stages; place the coarser layer upstream to extend service life. | 1–10 µm | Monitor differential pressure and replace the element when the pressure limit specified by the equipment design is reached. |
| Moderate suspended solids | 0.10–1.00 g/L | 1–5 mPa·s | 2–8 L/min/m² | 5–10 | Multi-stage depth filtration, normally beginning with a more open pre-layer or reusable screen. | 5–25 µm | Estimate solids loading over the complete batch, not only the initial concentration. A larger filtration area may reduce replacement frequency. |
| High-solids slurry | 1–10 g/L | 2–20 mPa·s | 0.5–4 L/min/m² | 4–10 | Use a coarse pre-separation step followed by a thick, high-capacity depth medium. | 10–50 µm | depth filters alone may have limited capacity. Consider settling, centrifugation, or a screen before fine clarification. |
| Low-viscosity solvent or oil-like feed | <0.10 g/L | 2–20 mPa·s | 1–8 L/min/m² | Not applicable or solvent-dependent | Choose a depth medium and seal material rated for the specific solvent, temperature, and pressure conditions. | 1–20 µm | Verify wetting behavior, extractables, swelling, and chemical compatibility before scale-up. Do not assume water compatibility applies to solvents. |
| Viscous liquid or concentrated solution | 0.01–1.00 g/L | 20–500 mPa·s | 0.1–2 L/min/m² | 4–10 | Use a larger filtration area, an open-grade depth stage, and controlled temperature where the product permits. | 5–50 µm | Higher viscosity increases pressure loss and reduces throughput. Flow tests should be performed at the actual operating temperature. |
| Acidic aqueous feed | 0.01–1.00 g/L | 1–10 mPa·s | 1–8 L/min/m² | 2–5 | Use a depth medium, housing, and elastomers with documented resistance to the actual acid concentration and temperature. | 1–25 µm | pH alone does not define compatibility; acid type, concentration, temperature, exposure time, and cleaning chemicals are also critical. |
| Alkaline aqueous feed | 0.01–1.00 g/L | 1–10 mPa·s | 1–8 L/min/m² | 9–13 | Select an alkali-resistant medium and verify the complete filter assembly for caustic cleaning conditions. | 1–25 µm | Check fiber, binder, adhesive, gasket, and housing materials independently; the weakest component determines system compatibility. |
| Biological or fermentation broth | 0.10–10 g/L | 1–50 mPa·s | 0.5–4 L/min/m² | 4–8 | Use staged clarification with a high-capacity coarse depth medium before any fine polishing stage. | 10–50 µm | Foaming, compressible solids, and shear sensitivity can strongly affect performance. Validate with representative broth rather than water. |
| High-purity final clarification | <0.01 g/L after prefiltration | 1–5 mPa·s | 1–6 L/min/m² | Product-dependent | Use a fine final depth stage only after upstream solids reduction and prefiltration. | 0.2–1 µm | Define the required particle-removal performance, microbial-control objective, extractables limit, and validation method before selection. |
| Selection note: The ranges above are practical starting points for preliminary sizing, not guaranteed operating limits. Final selection should be confirmed through pilot testing using the actual feed, temperature, solids profile, target throughput, allowable pressure drop, cleaning procedure, and required filtrate quality. | |||||||